
This tutorial for setting up Chef Compliance is for pretty much anyone to use. I break it into extremely simple steps, so that there is no mystery.
The thing about setting up Chef Compliance that was challenging for me is that you can’t see the product until you build a home for it. It was a lot like taking a giant box home from Ikea when you don’t know what you bought, then you have to put it together with random instructions strewn together from blogs.
As a non-technical type who’s been into technology for all of about five minutes, I am teaching myself to not be scared of technology. True, I’m most likely not the next Steve Jobs, but I did prove that I can now set up a virtual machine to use Chef Compliance in the cloud, and you can, too!
Disclaimer: I’m not a prodigy; I just have a totally unfair advantage, and his name is Michael Hedgpeth of hedge-ops.com. I’m married to him, and thus have a totally awesome teacher with benefits. So there’s that.
I will say, however, that I did not move from one step to the next without fully understanding what I was doing and the context with which I was doing it.
What You Will Need
- a Microsoft Azure account (there are free trials if needed)
- knowledge of basic Ubuntu command line ( I took a course on basic Linux command line at lynda.com)
Overview of the steps
- Create an Ubuntu virtual machine on Azure
- Make your virtual machine accessible over the internet
- Rename your virtual machine
- Set up Chef Compliance on your virtual machine
- Configure Chef Compliance server
Create an Ubuntu virtual machine on Azure
We decided to use Azure because virtual Box just didn’t work for us for whatever reason, and Michael is more familiar with Azure than AWS right now. Plus, they offer a free trial, so it worked out. If you have had better luck with virtual box, I’d love to hear about it!
- Go to your Azure account and click NEW.
- Under Marketplace click Virtual Machines
- Under Featured Apps click Ubuntu Server 14.04 LTS
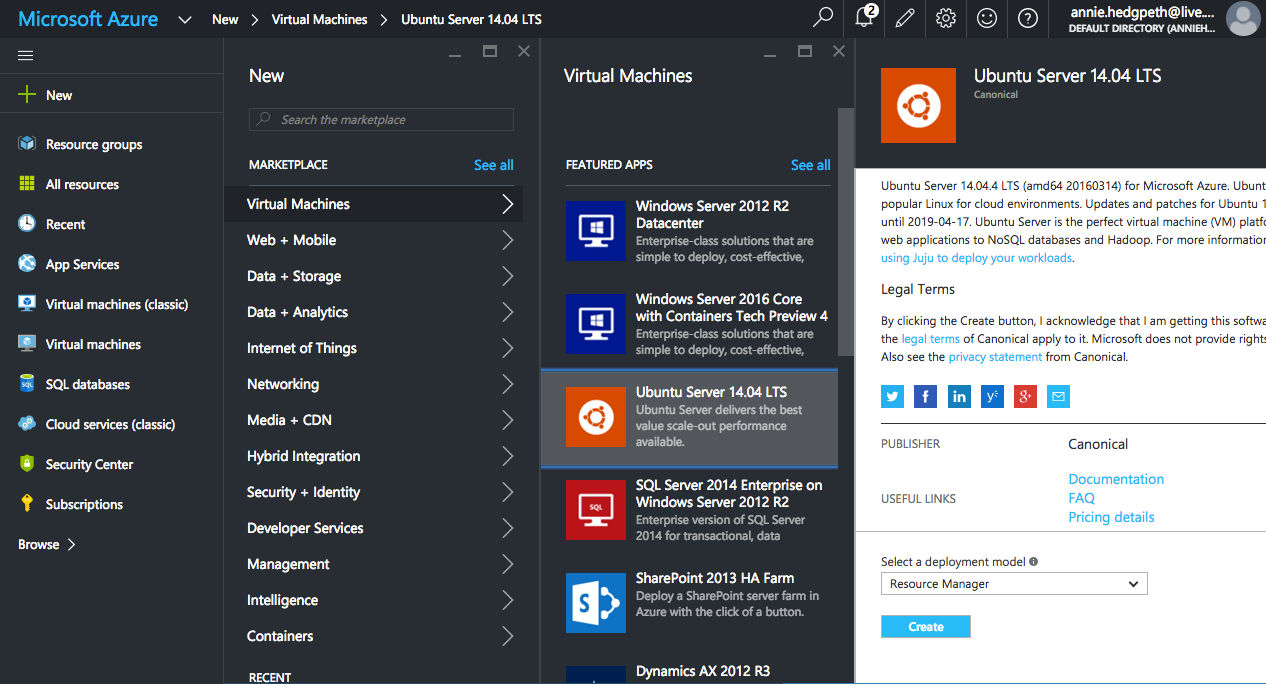
- Leave the default setting for Select a Deployment Model as Resource Manager
- Under the 1 – BASICS – Configure Basic Settings tab, fill in the following
- Username—This is you. You’ll have to enter it several times, so make it simple.
- Password—Choose a good one because it’s over the internet, but you will have to enter it, and I don’t know that you can copy and paste it.
- Resource Group—Create a new one and name it.
- Location—Choose the location of your server that’s closest to your region.
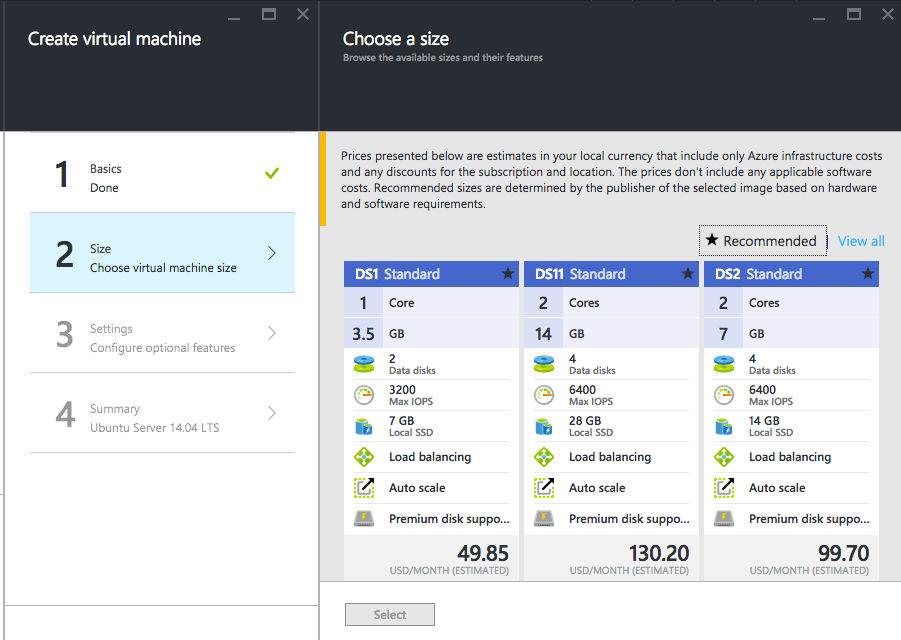
- Under the 2 SIZE tab—A1 is what I chose, cheap, and it did the job.
- Under the 3 SETTINGS tab—choose all defaults for Storage options.
- Under the 4 Summary tab—click ok and your VM will be deployed after a few minutes.
Make Your Virtual Machine Accessible Over the Internet
We’re doing this so that our browser can access Chef Compliance on our server. First, we’ll register a public name for the server, so that we can type that name in a browser. Then we’ll need to change the security settings on the network security group.
- So go to All Resources, click on your server, then click on your IP address and note that there is
no DNS name label for it.
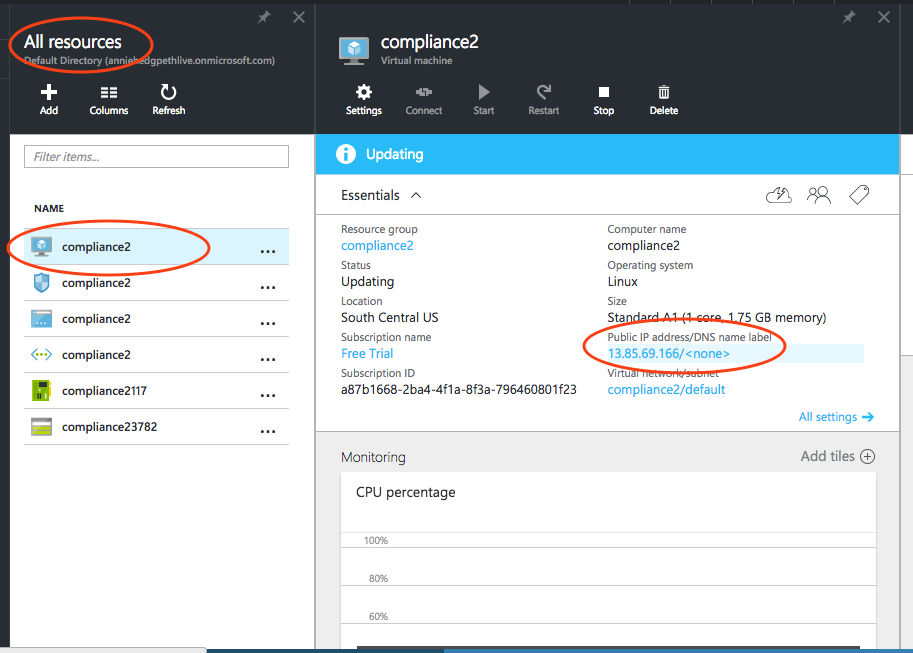
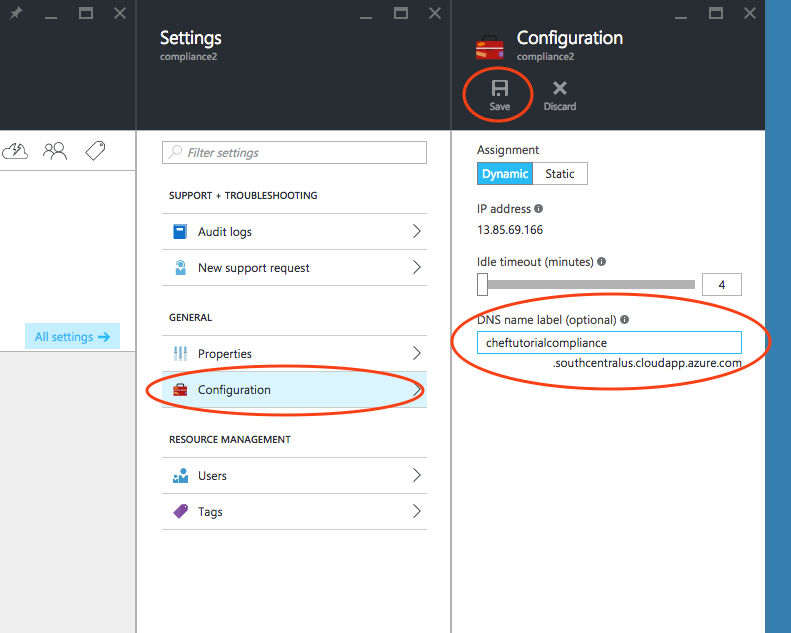
- Click on Configuration and add the name you choose in the box called DNS name label and copy it to notepad or
something because you’ll need it later. Then click SAVE at the top of the Configuration tab.
- Go to the network security group (the one with the shield icon) that you just created. We need to create a rule so
that our compliance website can be accessed.
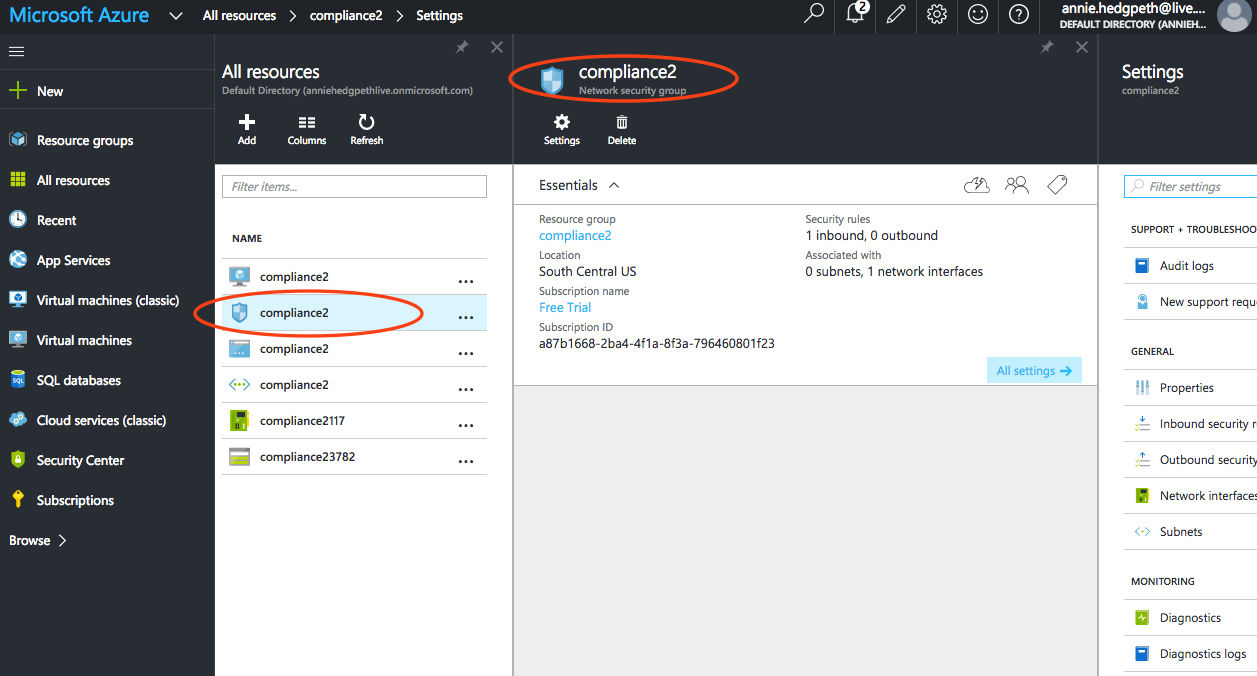
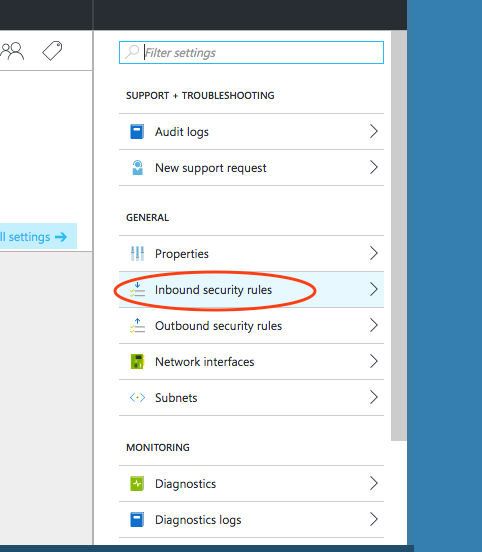
- In settings, click on Inbound Security Rules.
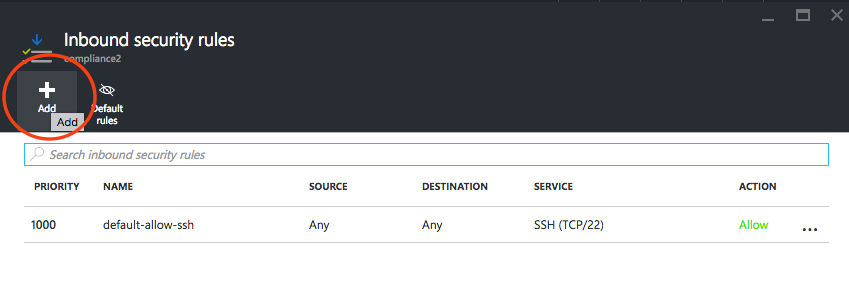
- Click ADD, and name it allow-ssl, and change the Destination Port Range to 443 so that you can talk
to the server over https. Then click OK.
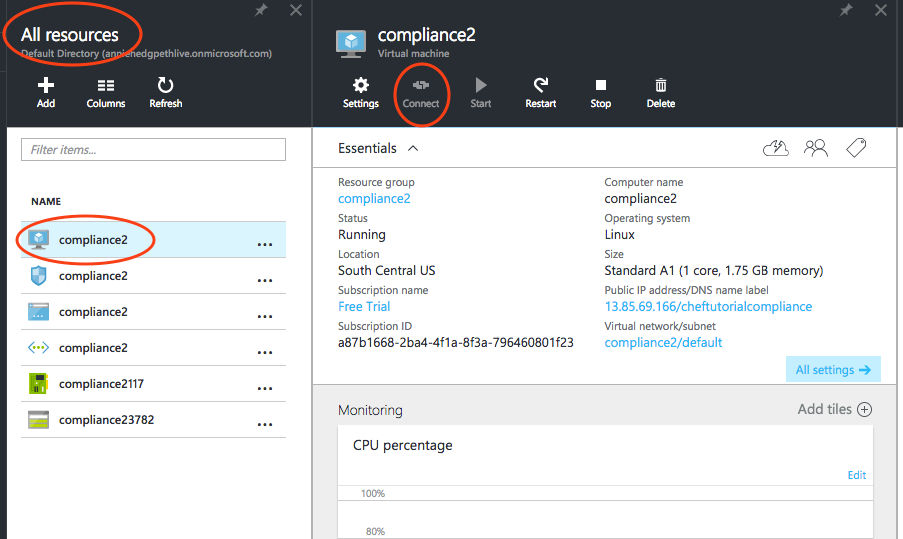
- Make sure your machine is on by going back to All Resources and clicking on your VM (with the monitor
icon). If Connect is greyed out, then you’re connected.
Rename Your Virtual Machine
After all of that, your vm still doesn’t really know that its name was changed, so now we have to tell it what its name is.
- SSH to your vm
- Open up your terminal.
Mine was:ssh username@dnsnamessh annie@cheftutorialcompliance.southcentralus.cloudapp.azure.com - Respond
yes - Enter your password
- Install Nano on your VM
sudo apt-get install nano
- Open this file so that you can edit it
sudo nano /etc/waagent.conf
- Find this in the document:
Provisioning.MonitorHostName=y
- The value will be
nwhen you find it, but change it to ay - Save by clicking
Ctrl+o, then accept the file name by pressing Enter - Then Exit by clicking
Ctrl+x - Once done, run this command
sudo waagent -install
- Now change the name to the full domain name that you’ll type in your browser. I used
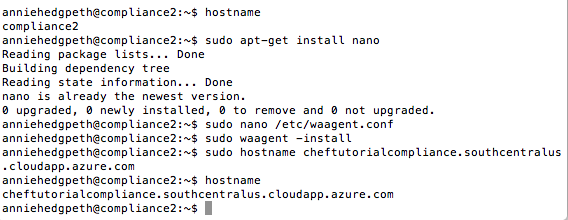
sudo hostname cheftutorialcompliance.southcentralus.cloudapp.azure.com
When you finish this step you should be able to type the command hostname and something
like cheftutorialcompliance.southcentralus.cloudapp.azure.com should come up.
This is the terminal I used.
Set Up Chef Compliance on Your Virtual Machine
Finally. After all of that work, we’re ready to actually put Chef Compliance onto our virtual machine. I used this guide.
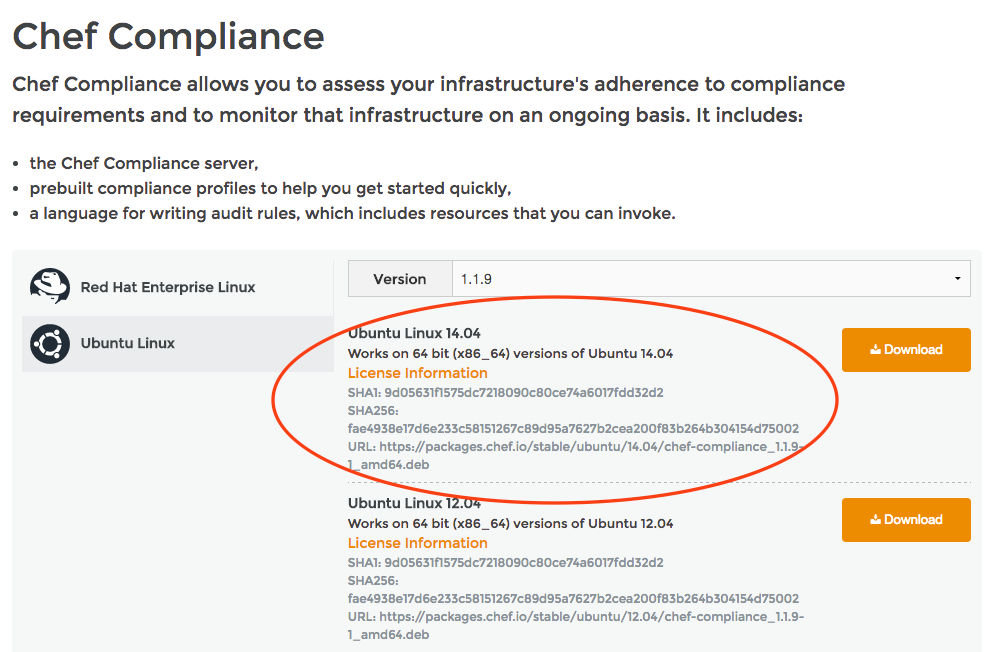
- To download the package, go to the download site get the download
URL for Ubuntu and copy and paste the link on a notepad or something to use in a minute.
- cd to the /tmp directory
cd /tmp
wgetthe download URL
wget [download url that you just copied]
- As the directions say, run sudo dpkg
sudo dpkg -i /tmp/chef-compliance-<version>.deb
Hint: Just type up to Chef, then hit tab to autofill. This will take a minute or so.
- Run
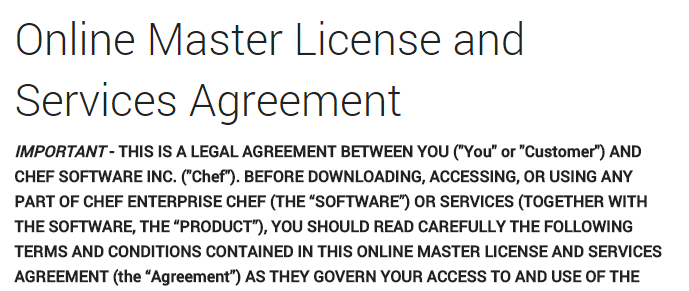
sudo chef-compliance-ctl reconfigure - This takes you to a license agreement. (Edited to add: They may have done away with this requirement.)
- Hit any key.
- Read it as you scroll all the way down to the end.
- Then hit
qto get out of the agreement. - You then need to agree to it, so type
yes, and it will load the compliance server. - This will take a few minutes (if you got a slow, cheap machine like I did).
Configure Chef Compliance Server
So now that it’s all installed, it’s time accept the license agreement and set up an administrator user so that you can start using the product.
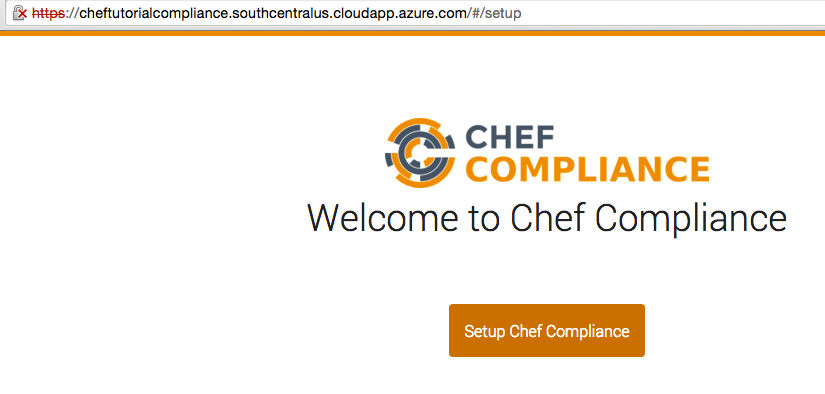
- Navigate to your URL and add
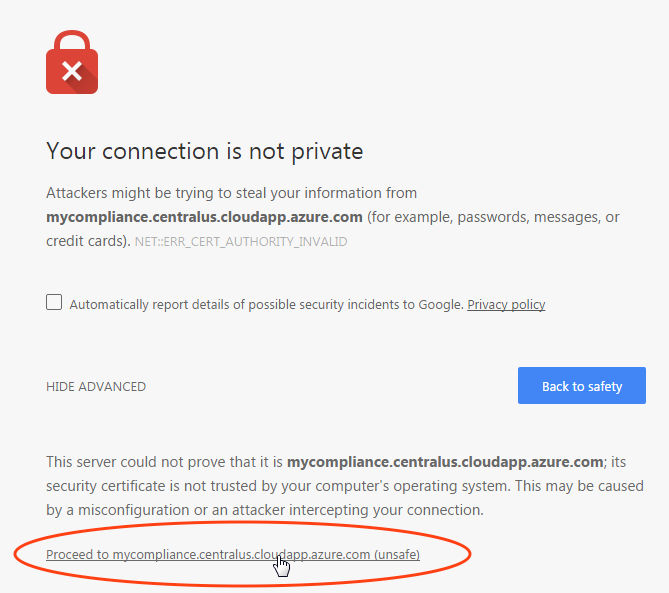
/#/setupto the end, make sure it’shttps - Your browser doesn’t trust your server, so it’ll warn you not to go there. Just click on Advanced and then accept
the risk that it asks you to accept by clicking the link at the bottom.
- Click on Setup Chef Compliance
- Accept the license agreement…again
- Set up an admin user and click Next
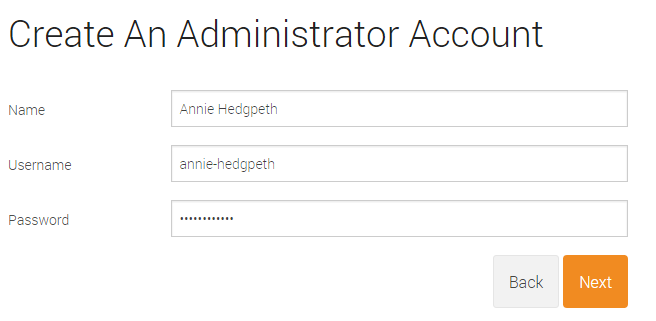
- Make sure your info is correct and click Configure
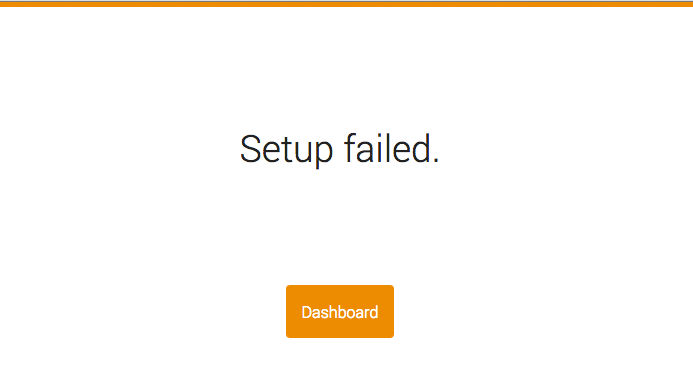 The first time I went through, it said that the setup failed. But then I went back to the dashboard and logged in,
and all was well. Who knows.
The first time I went through, it said that the setup failed. But then I went back to the dashboard and logged in,
and all was well. Who knows. - Go to the dashboard, and you’re ready to go!
- Now go have a glass of wine and a chocolate chip cookie and pat yourself on the back.
Concluding Thoughts
I gotta admit, this whole process was a bit much for me. I couldn’t have done it without Michael. Once I got to the end, I was super surprised to see just how simple and intuitive the program was after such a complicated setup.
I’m really excited to learn more about Chef Compliance, so in another post I’ll get to the fun part where we actually get to play around with it and see just what it can do.