
Last week I showed you how to get set up to use Chef Compliance, so now that you’re ready, let’s take a look at just what this tool can do for us.
Today we’re going to take a very basic tour of Chef Compliance—easy-breezy—just to get the feel of it. So what we’re going to do is 1) use Chef Compliance to scan the Chef Compliance server that we just made, because why not? That needs to be clean, too, right? 2) We’ll take one of the failures that it gives us, 3) go in and fix it manually, and then 4) rescan to make sure it was remediated.
Add a node
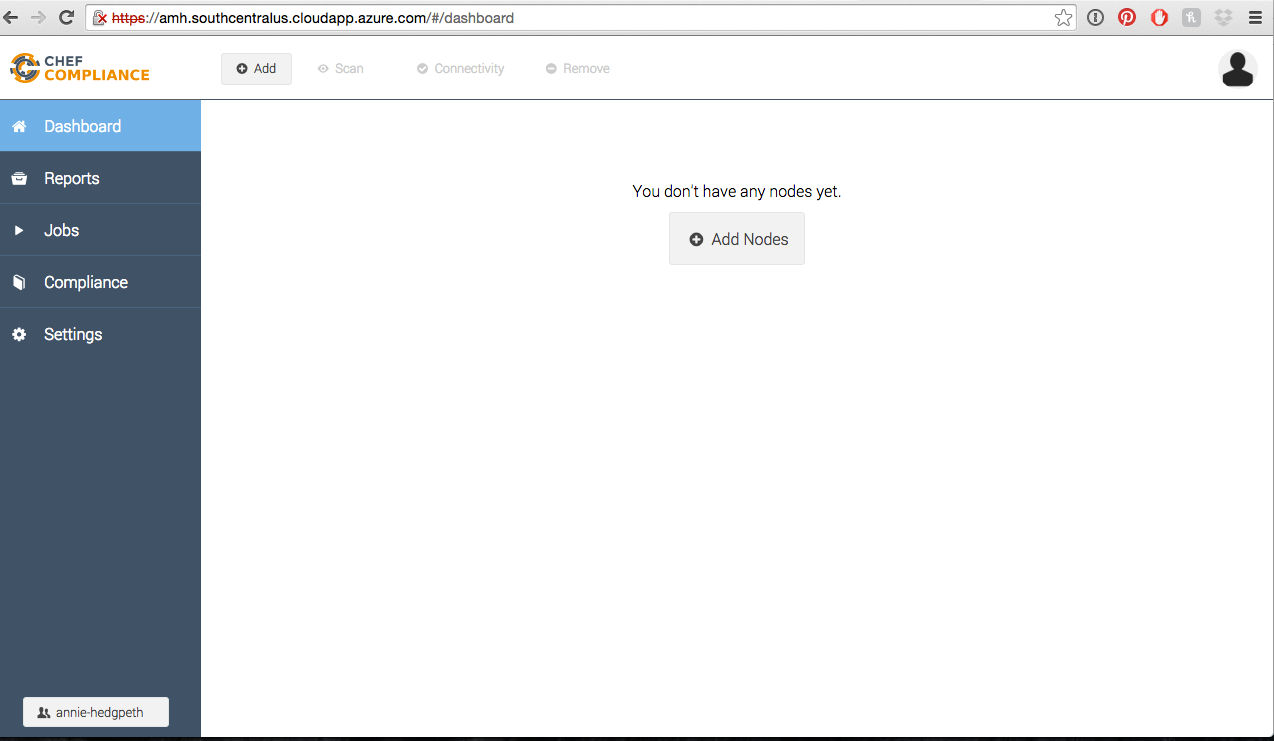
After you log in, you’ll be at a screen that looks like this. Click on Add Node
Then you’ll need to fill all of this out.
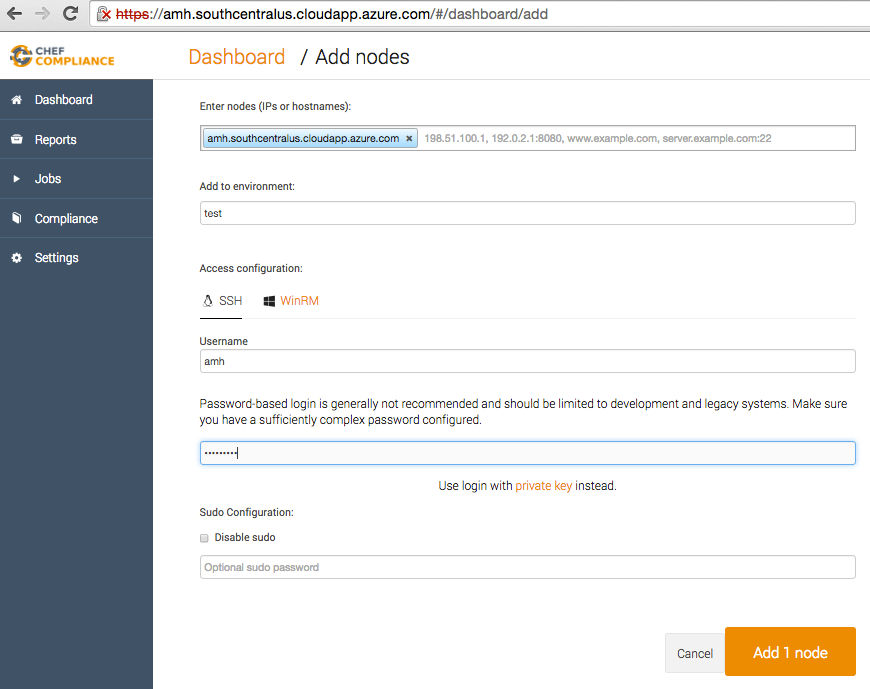
- Enter nodes (IPs or hostnames): Add yours; mine was
amh.southcentralus.cloudapp.azure.com - Add to environment: just pick any category of machine (i.e. test, production, development)
- Access: ssh
- Username: enter yours
- Password: enter yours
- Then click Add 1 node
Scan it
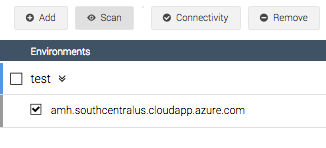
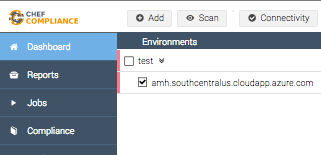
Now check your newly added server, and click Scan.
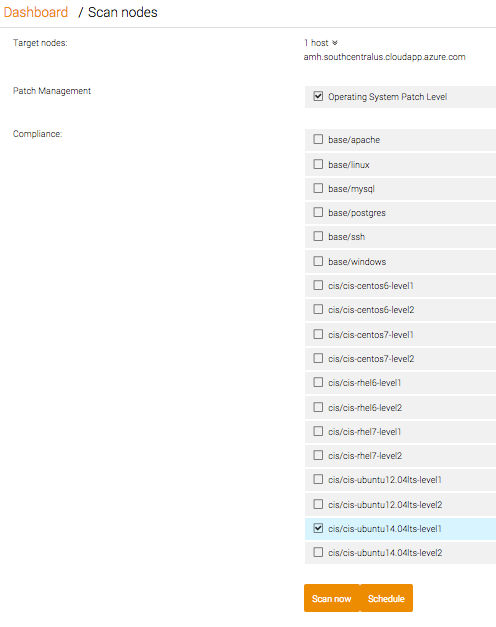
We need to tell it which profile we need to scan it against, so let’s choose: cis/cis-ubuntu14.04lts-level1. Then click Scan Now and wait for the magic to happen.
After your scan is complete, your summary of compliance failures will appear.
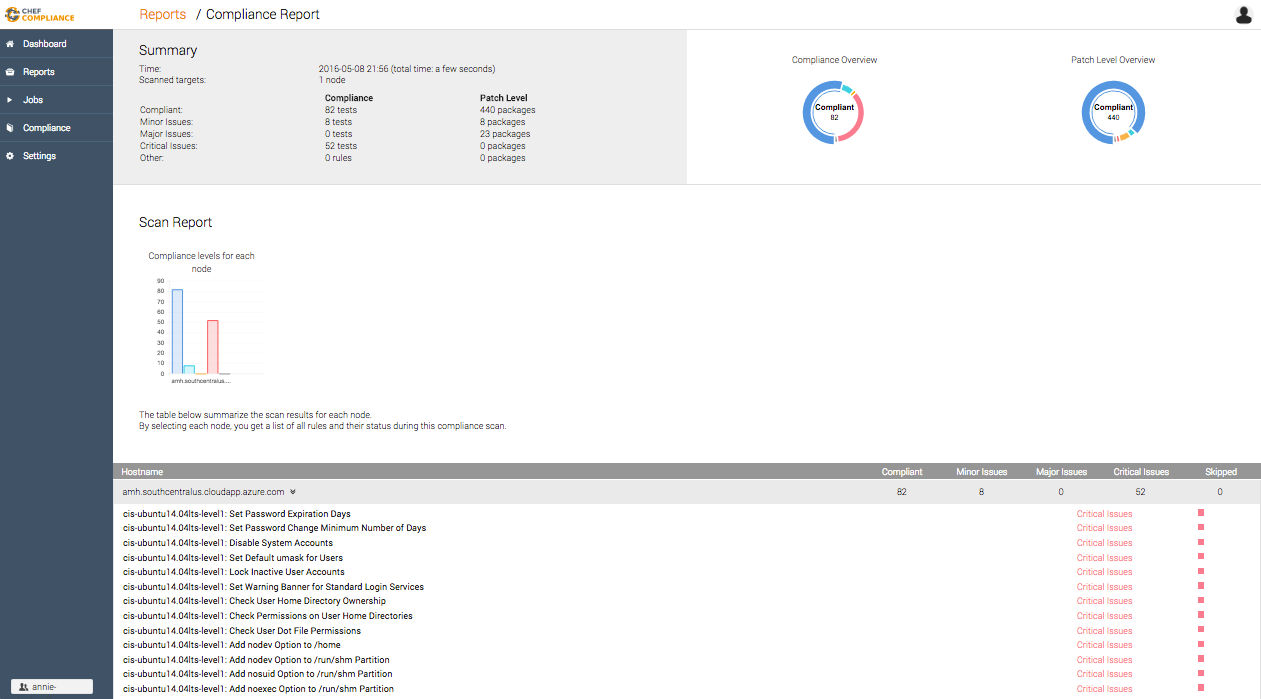
Surprise! You have failures
52 of them to be exact. The very first one says Set Password Expiration Days.
- Click on that (honestly, I don’t know if you have to click it, but it can’t hurt).
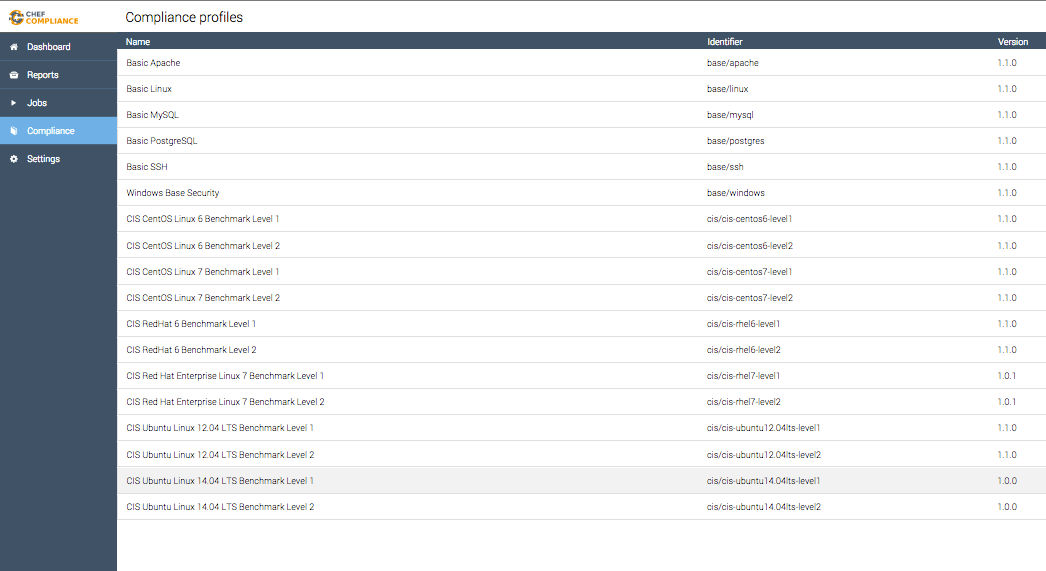
- We need to learn about the rule that defines it as a failure, so click on Compliance on the top left.
- Then find the profile that you used to scan against and click on it: ubuntu14.04lts-level1
Let’s take a look at the InSpec code that wrote the rule that found this failure. It’s going to tell us which folder we need to look in to find the file that needs to be edited and what it needs to be edited to.
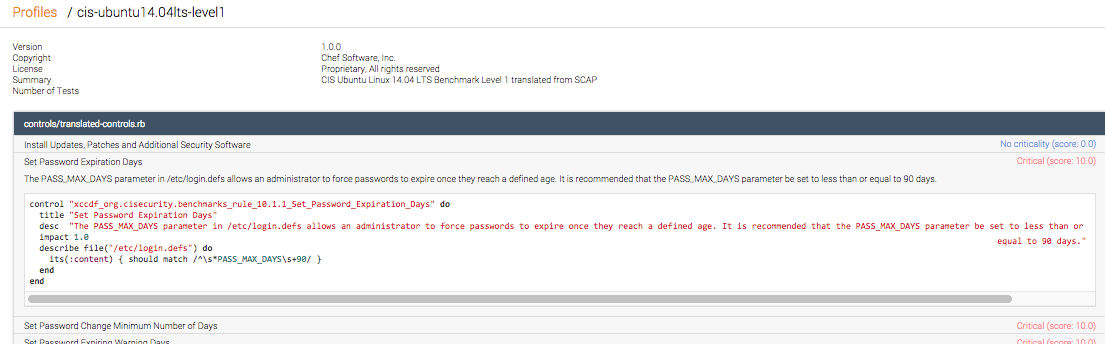 It’s a bit small, but it says:
control "xccdf_org.cisecurity.benchmarks_rule_10.1.1_Set_Password_Expirations_Days" do
  title "Set Password Expiration Days"
  desc "The PASS_MAX_DAYS parameter in /etc/login.defs allows an administrator to force passwords to expire once they reach a defined age. It is recommended that the PASS_MAX_DAYS parameter be set to less than or equal to 90 days."
  impact 1.0
  describe file("/etc/login.defs")do
    its(:content) { should match /^\s*PASS_MAX_DAYS\S+90/ }
  end
So I don’t read or write InSpec, but what I find pretty cool is that we can figure out what it says pretty easily anyway. Let’s go line by line and understand what this means.
control "xccdf_org.cisecurity.benchmarks_rule_10.1.1_Set_Password_Expirations_Days" do
So that’s the rule that it says our server broke, right? Right.
title "Set Password Expiration Days"
When we open up the file, we’re going to see a section with this as the title.
desc "The PASS_MAX_DAYS parameter in /etc/login.defs allows an administrator to force passwords to expire once they reach a defined age. It is recommended taht the PASS_MAX_DAYS parameter be set to less than or equal to 90 days."
This is a full description of the command so that we understand exactly what it wants from us. So now we know that
our PASS_MAX_DAYS must be set to 90 days or less. That must mean that it’s
currently set at greater than 90 days.
describe file("/etc/login.defs") do
This is telling us that this is the file that we need to change and that it’s in the etc folder. Got it!
its(:content) { should match /^\s*PASS_MAX_DAYS\S+90/ }
And there’s the code that’s making it all happen. So now we’re ready to go fix it manually!
Let’s fix it
Our goal is to automate these fixes, right? But for now, we’re learning and experimenting, so we’re going to have some fun by fixing one of these failures manually. So let’s get ready to clean up some messes—be still my OCD little heart.
So first we need to open our terminal and ssh to our vm. So type ssh then your username @ your fully qualified domain name.
ssh username@fqdn
Now we need to go to the folder that holds the offending command, so let’s change directory to the etc folder.
cd /etc
So now that we’re in that folder, we need to open up the offending file using our text editor, Nano.
sudo nano login.defs
Let’s look for the text that we need to edit. We can search for it using ctrl+w to search for Pass.
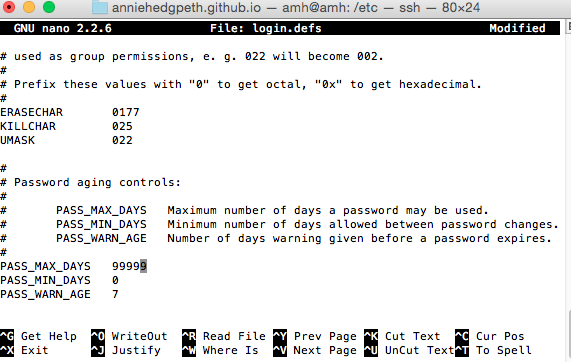
And there it is! It’s currently set to 99999 days, and all we have to do is change it to 90 or less to make it compliant.
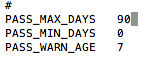
When you’re finished, hit ctrl+o (write out) to save, then enter. Then ctrl+x to exit.
Let’s scan again
So now let’s go back to our Chef Compliance dashboard, check our server box, and scan it again.
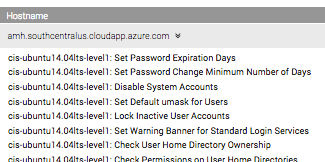
Now when we look at our list of failures,
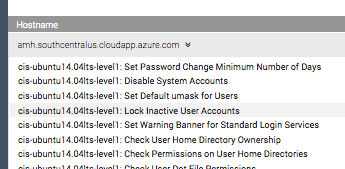
…the one that we worked on that said Set Password Expiration Days isn’t there anymore! Woohoo! We remediated it! Feels good, doesn’t it? Only51 more to go…
Concluding Thoughts
So, true confession, after I wrote the tutorial for setting up Chef Compliance, I was like, ‘Uh…seriously? Is it supposed to be this hard?’ But the creators of the software—totally sweet and super smart (and tall) guys—are aware and are working on that, so yay!

But then I started playing around with the actual program, and it is so incredibly easy to use and intuitive. I feel like it should be harder because it’s such a valuable tool in terms of how it changes the security game, making it so much safer to get to production.
So now that we understand how cool Chef Compliance is, I’ll be exploring and learning more about InSpec so that I can learn how to create my own profiles to test against. I hope you’ll stay tuned!